Adding a Public Item Store
This document describes how to add a shared ItemStore in NewsRoom 50 Server.
Run the NfsAdmin tool on the NewsRoom Server.

Press the storage button on the Toolbar and Select "New ItemStore"

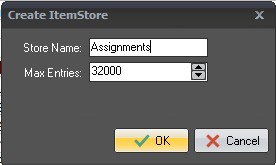
Enter the Name and Size of your New Item Store. In this example we will make an "Assignments" Shared ItemStore.
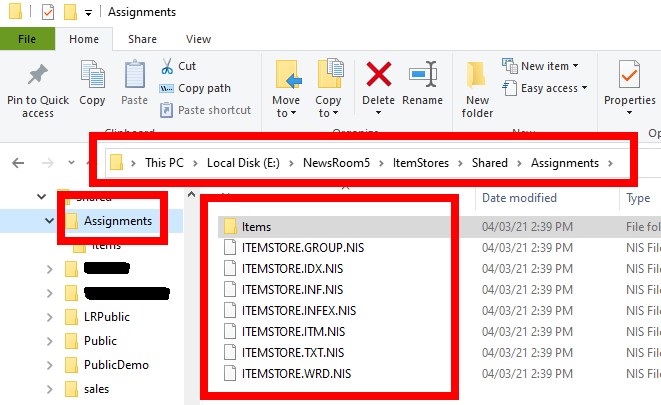
Verify that the ItemStore database files have been created on the Server.
The Path Should be something like:
"\ServerName\NewsRoom5\ItemStores\Shared\Assignments"
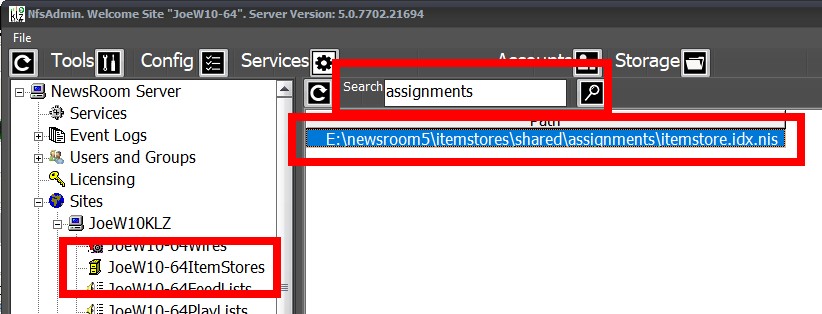
Verify that the alias has been added to the system.
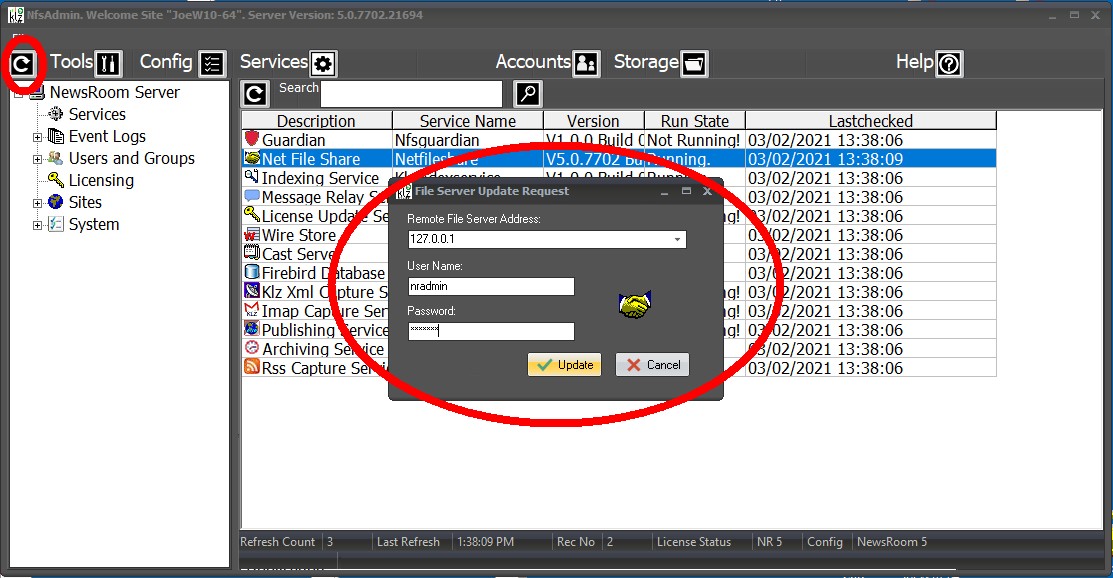
Perform A Service Load
Test your new Shared ItemStore.
Run the MySites tool from the NewsRoom client and test the basics. Users who are already connected will have to re-connect their MySites Tool
Adding and deleting items.
Creatting and Deleting Folders.
Editing and Saving items.