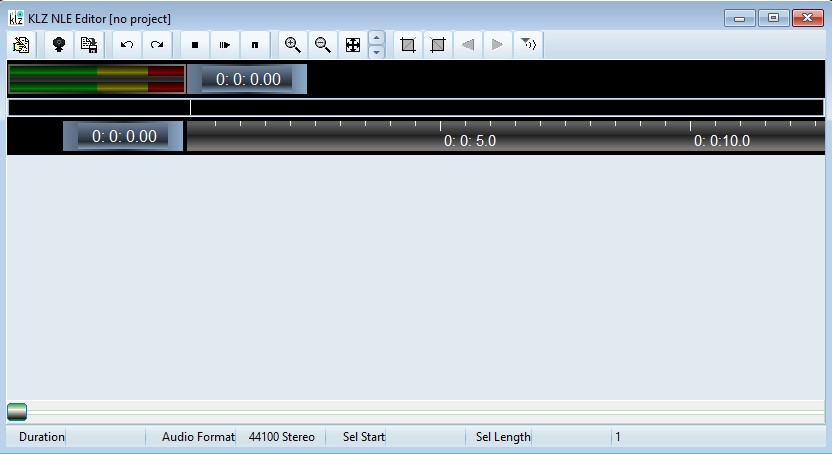
Audio Multi-Track Editor


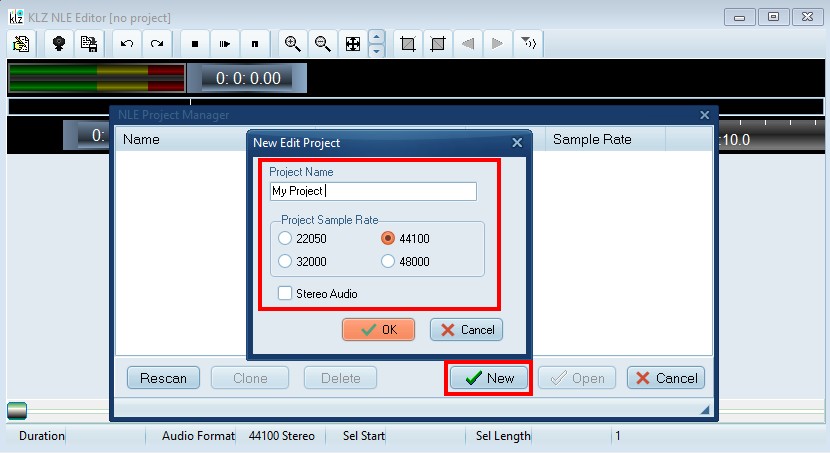
Let's create a new project for editing. Launch a new multi-track editor by clicking on the M-Track button from the main toolbar. You are presented with a new project dialog. Here you can name your project, select the sample rate, and choose whether to accept the default mono pcm, or choose stereo audio. When done click the OK button.
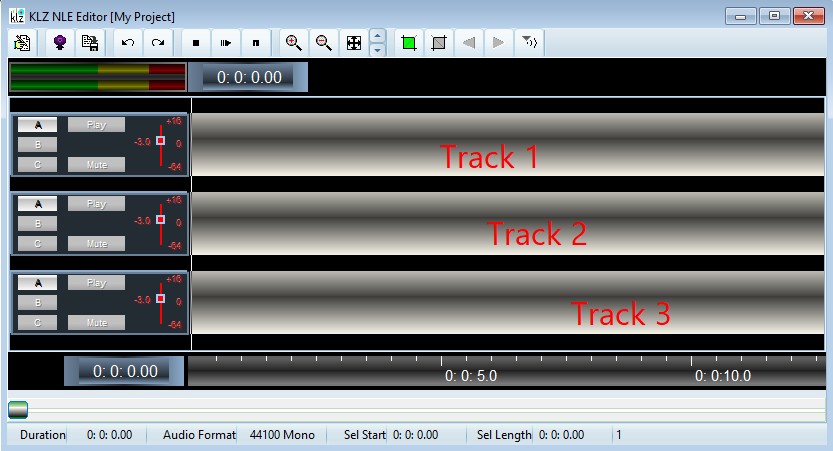
You now have 3 default track beds to import audio samples to, as seen below.
Getting audio into your library is done by clicking on the Import Audio button (circled below) on the editors toolbar. With the file explorer dialog open, navigate to a folder containing audio on your system. Select a clip and click Open . The selected clips are now in your audio library.

R. clicking within any track will give you the option of inserting an imported library clip, or if you happen to be connected to the main site (station), inserting a NewsRoom clip via the network. We will demonstrate both options of accessing the audio available to you.
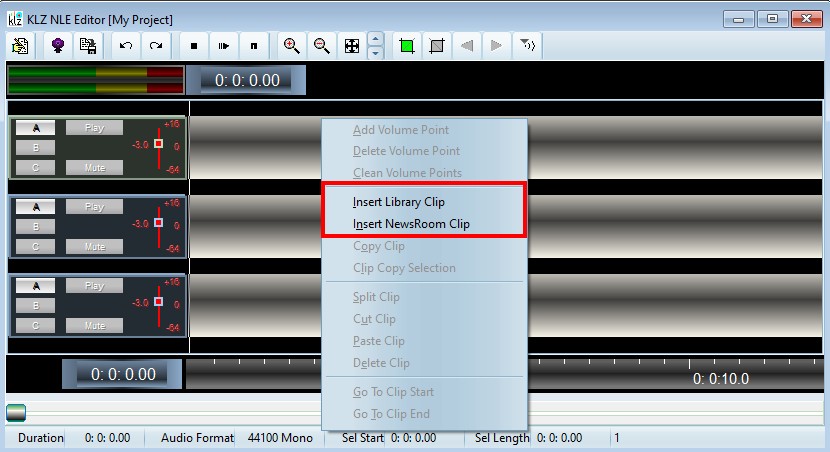
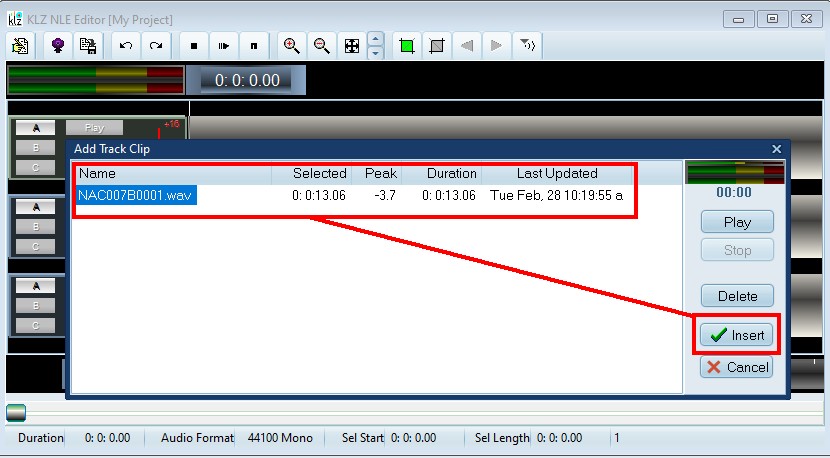
Choosing Insert Library Clip will launch a dialog with a list of audio cuts that you previously imported. You can click Play to sample the clip in real-time, or simply choose Insert to instantly add the cut to your project.
Choosing Insert NewsRoom Clip will launch a dialog with
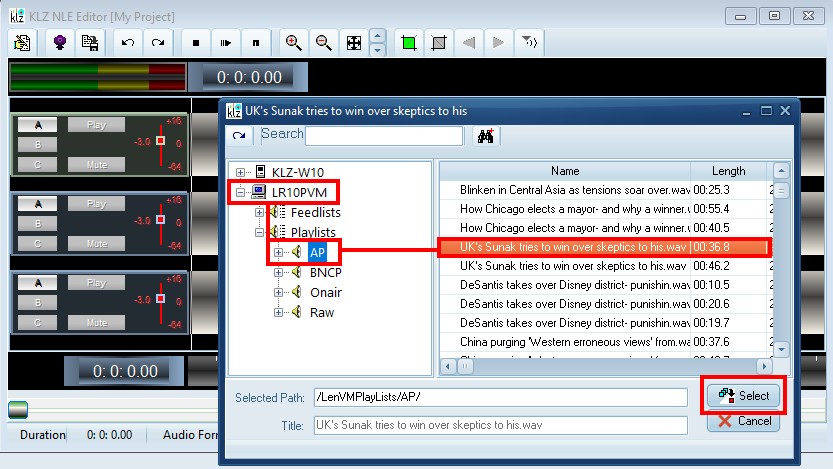
rmt5-multitrk-insert-NR-clip
Once satisfied with the finished project, you can render it as one file, saving it anywhere on the network, to your local hard drive or directly to automation.
Contact This email address is being protected from spambots. You need JavaScript enabled to view it. for more information.